Raspberry Pi and Nagios for reliable low cost monitoring
 I love Nagios and I love Raspberry Pi’s. With my growing smart home and other projects, it only makes sense to monitor it all. To do that I use a Rapsberry Pi to run Nagios for low-cost reliable monitoring. I had Nagios running on a Virtual Machine but freeing up those resources and putting an old Pi to use is perfect.
After you have Raspbian installed, update it using
sudo apt-get update; sudo apt-get upgrade
Then reboot the Pi so we have a fresh start. Once logged back in run
sudo apt-get install nagios3
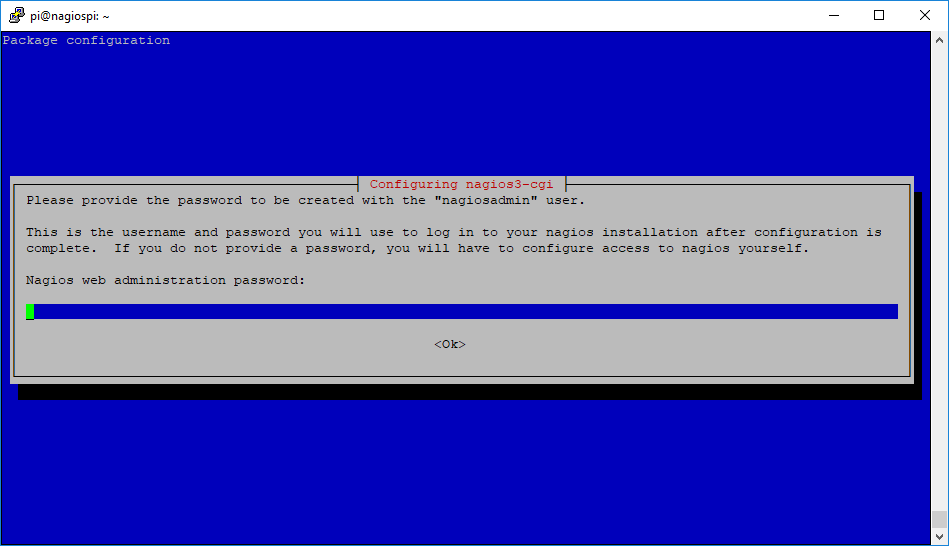
During the installation it will prompt you for a password you want to use on the website. Enter it here, confirm it in the 2nd screen and remember it for later.

The installation will continue to setup more packages needed. This could take some time depending on the vintage of your Raspberry Pi.
Once the installation is complete, browse to the Nagios site using http://your.raspberry.pi.ip/nagios3 and login with username nagiosadmin and the password you selected above.
That’s it! Nagios is ready to be configured to monitor your devices.
Defining your first host
Setting up your first host can be confusing, but it’s pretty easy.
What is a host? A host is a device and Nagios will check hosts for up or down state only. Once you have a host, you can then layer on a service. A service can be anything you want. For example, you can make a service to make sure your files are within a certain timeframe, or that a port is open or even if a service is running. It all has to start with a host though.
All of the Nagios config files live in /etc/nagios3 and the host and service files are in /etc/nagios3/conf.d.
Since I use the Raspberry Pi Nagios to monitor devices in my house, I made a file called home.cfg by using nano /etc/nagios3/conf.d/home.cfg and then inside I put this:
define host {
    use           generic-host
    host_name     ObserverIP
    alias         ObserverIP
    address       192.168.0.55
}
In this example, this is what monitors my weather station’s ObserverIP unit and will notify me if it goes down. This is part of my plan to keep reliable weather data going by making sure it’s up all the time.
The generic-host is a template which is defined in /etc/nagios3/conf.d/generic-host_nagios2.cfg. A template helps apply bulk settings without having to redefine them over and over.
The host_name is the name of the host. This is typically used in services.
The alias is a friendly name for the host.
The address is the IP address of the host. You can use DNS if you have your LAN setup to resolve local hostnames.
Note: Any device I want to monitor in my house I have set with a DHCP Reservation. This is so the device’s IP never changes and I can always find it on the network. If your router or DHCP server can do DHCP reservations, use them. They are easier to do than a static IP and you don’t have to reconfigure any of the devices. Most smarthome devices do not have a way to set a static IP, so doing a DHCP reservation is ideal.
Once you have added your hosts, reload Nagios to have it start monitoring it.
First, check for errors with
sudo /usr/sbin/nagios3 -v /etc/nagios3/nagios.cfg
If you see no errors and it says Things look okay then reload with
sudo service nagios3 reload
That’s it! Your Pi should now be reliably monitoring your home devices for up/down state.
If you want more detailed monitoring, like making sure that SocketLogger has port 2999 open, that’s a service and not covered here. Keep an eye out for that soon though!
